


I was going to do a full on tutorial, but I forgot my camera so I could only photograph the end results. Plus, they are super simple to make. Anyway, here's a super abbreviated tutorial.
Materials Needed:
- A very simple toggle clasp, such as this one
- Jump rings of a similar finish, like these. Since you'll be working with a thicker type of string, a bigger jump ring is preferable.
- Plastic lace, like this. This stuff comes in every conceivable color, which is one of the reasons I like this d.i.y. so much. A small spool cost $1, so you could make a ton of different color combinations without breaking the bank.
- This website. I know it looks a bit silly, but this guy does a much better job of explaining lanyard making than I ever could. Plus, he has step-by-step pictures that are extremely helpful.

- Start with attaching a jump ring to the circular part of the toggle.
- Begin the braiding of your lanyard, as seen here. The only difference is that you will want to place the lanyard string as you see it in the first picture inside of the jump ring and make the beginning stitch so that it wraps around the jump ring.
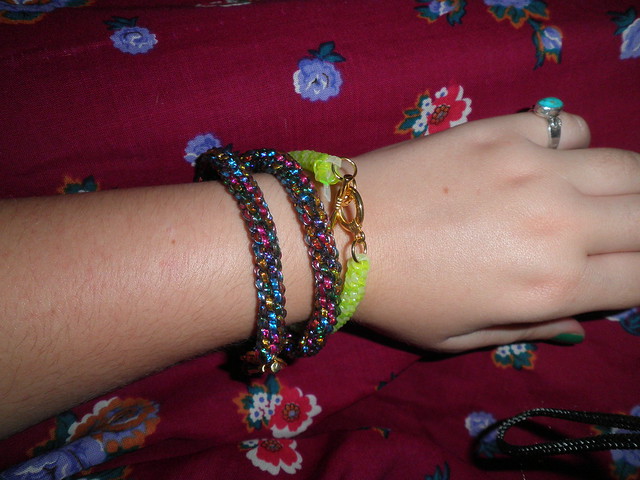
- Continue making stitches until you reach your desired length. For this bracelet, you'll want to use circle stitches if you want your bracelets to resemble the ones from Noir. However, you could use any other stitch if you choose.
- TIPS FOR STITCHING: Make sure to pull the strings tightly and that your strings do not get twisted. This is important because you want a uniform look with your stitches.
- Once you reach your desired length, you will want to follow this pattern to knot the braid with slight modification. For the last string you close, place a jump ring on the string before looping it around the string on the left as described in the instructions.
- Attach the jump ring to another jump ring. Attach that jump ring to the t-shaped part of the toggle.
*When deciding the length for your bracelet, the trade-off for the long time it takes to make the double wrap bracelet is that it doubles for a necklace! Another bonus, the green bracelet also used glow-in-the-dark string, which makes it the perfect party bracelet.
Such a great idea! I remember doing key chains like this back in the day. I miss making these though like you said they are a little time consuming but so pretty in the end :)
ReplyDelete-Amber